操作环境: ubuntu 20.04.3
官方文档: https://www.nginx.com/resources/wiki/start
简单了解
Nginx是异步框架的网页服务器,也可以用作反向代理、负载均衡器和HTTP缓存。
该软件由伊戈尔·赛索耶夫创建并于2004年首次公开发布。
2011年成立同名公司以提供支持。
2019年3月11日,Nginx公司被F5 Networks以6.7亿美元收购。Nginx是免费的开源软件,根据类BSD许可证的条款发布。
包管理器安装
包管理器提供的软件包会有些过时,不建议使用
apt update && apt install nginx |
源码安装
相关包安装
GCC
包含各种语言的编译器, 用来编译Nginx的apt install build-essential
OpenSSL
提供SSL支持, 如设置httpsapt install openssl libssl-dev
PCRE
提供正则表达式解析, 如HTTP模块中匹配路径apt install libpcre3 libpcre3-dev
zlib
提供了开发人员的压缩算法, 如HTTP响应使用压缩减少传输流量
apt install zlib1g-dev
一次性安装
apt install build-essential openssl libssl-dev libpcre3 libpcre3-dev zlib1g-dev |
下载编译
默认情况下,NGINX 将安装在
/usr/local/nginx.
进入下载页面, 获取稳定版本下载链接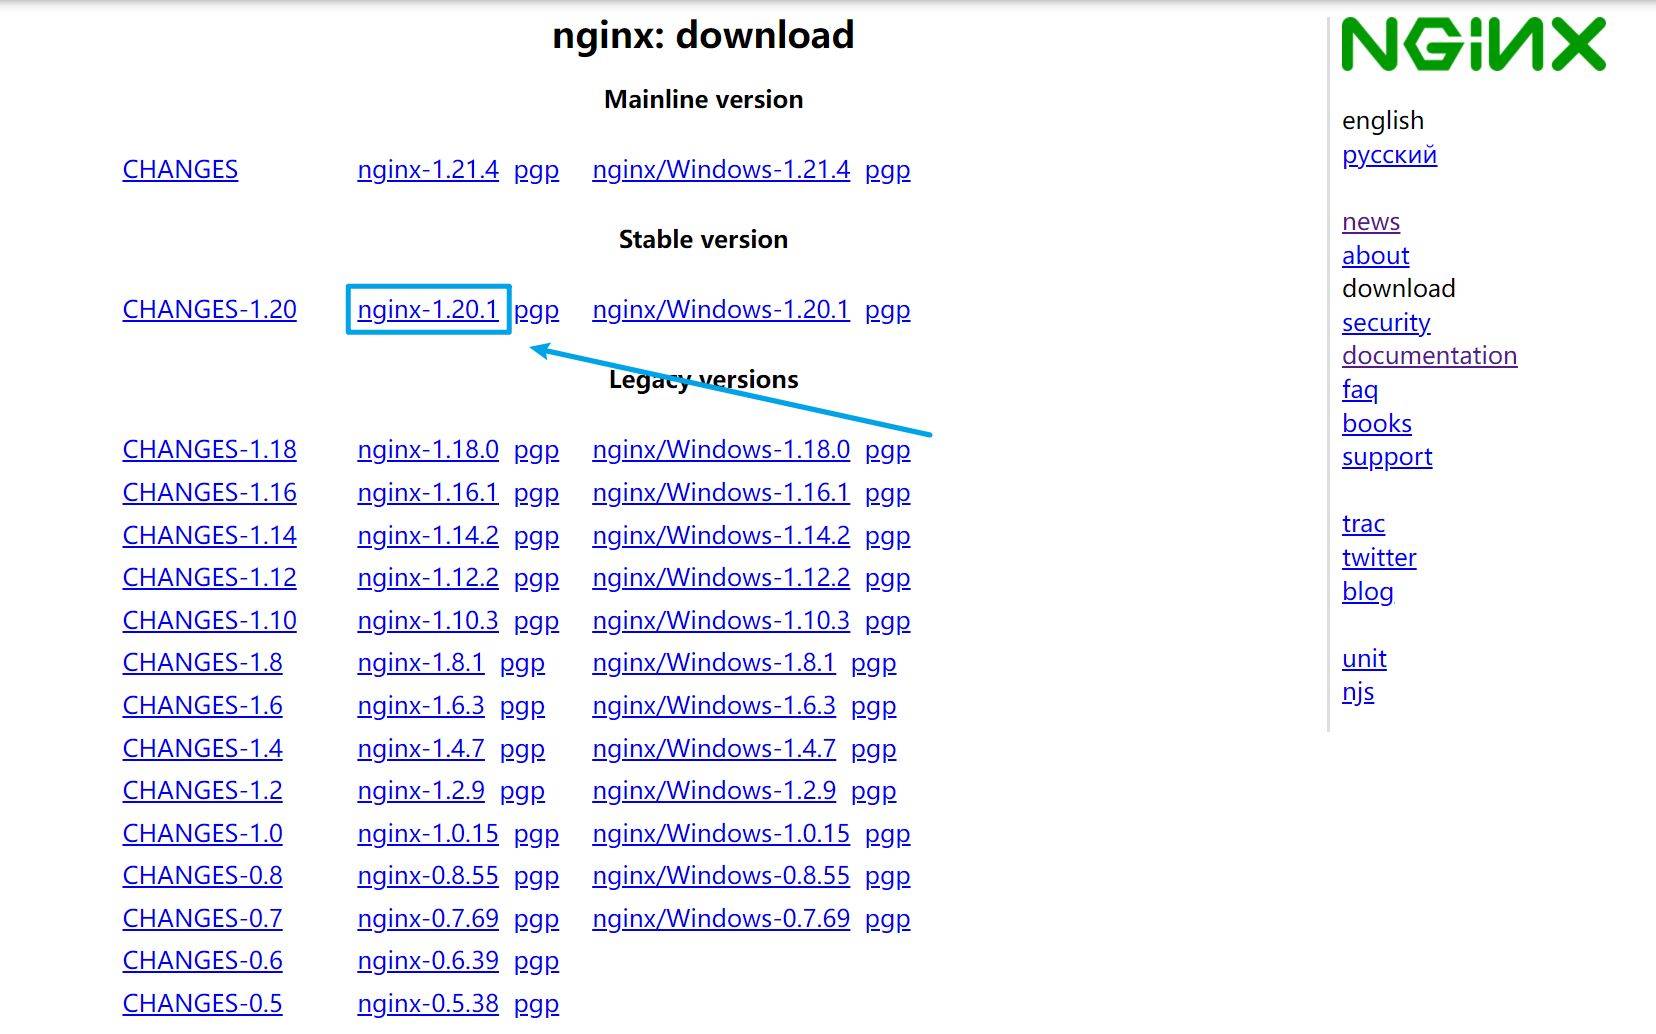
wget http://nginx.org/download/nginx-1.20.1.tar.gz |
创建目录进行包管理(方便之后使用其它版本)
mkdir -p nginx/core |
解压包
cd nginx/core |
进入资源文件,执行configure
cd nginx-1.20.1/ |
configure 参数说明 -> 🚪
# 手动配置路径及安装依赖模块 |
执行完成后会输出配置信息

编译
make |
安装
make install |
添加全局命令
ln -s /usr/local/nginx/nginx /usr/sbin/nginx |
添加系统服务
Docs: https://www.nginx.com/resources/wiki/start/topics/examples/systemd/
创建 /lib/systemd/system/nginx.service 文件
vim /lib/systemd/system/nginx.service |
如修改过命令位置, 需修改命令路径, PIDFile文件路径需与构建时保持一致, 忘记了可以通过nginx -V查看配置
[Unit] |
开启自动启动
systemctl enable nginx |
启动服务
systemctl start nginx |
查看服务状态
systemctl status nginx |
添加配置目录(可选)
创建配置目录
cd /usr/local/nginx && mkdir conf.d tcp.d |
编辑nginx.conf, 添加配置导入, 便于管理
vim nginx.conf |
http { |
卸载操作
停止nginx进程
nginx -s stop |
删除安装目录
rm -rf /usr/local/nginx |
清除编译环境
make clean |
常用命令
启动
nginx
停止
nginx -s stop
安全退出
nginx -s quit
测试配置文件语法是否正确
nginx -t
重新加载配置文件
nginx -s reload
查看版本及配置
nginx -V
版本更新
在不停止Nginx服务的情况下进行平滑升级或添加模块
准备已编译好的新版目录(安装步骤执行到make install之前)
执行make install的话会覆盖掉原本的配置文件

下面操作会将nginx-1.20.1升级到nginx-1.20.2
备份旧版nginx可执行文件
cd /usr/local/nginx
cp nginx nginx.old
将新版本编译目录下的objs中的nginx替换掉nginx
cp ~/nginx/core/nginx-1.20.2/objs/nginx /usr/local/nginx

# 文件被占用使用命令强制覆盖
cp -rfp ~/nginx/core/nginx-1.20.2/objs/nginx /usr/local/nginx
测试新版本是否正常
nginx -t
执行
make upgrade![]()

命令没有报错就成功了~