安装zsh
使用系统对应的包管理器安装
apt install zsh |
安装oh-my-zsh
安装前提要有git
apt install git |
根据已有的网络工具选其一执行即可.
curl
sh -c "$(curl -fsSL https://raw.githubusercontent.com/ohmyzsh/ohmyzsh/master/tools/install.sh)" |
wget
sh -c "$(wget -O- https://raw.githubusercontent.com/ohmyzsh/ohmyzsh/master/tools/install.sh)" |
fetch
sh -c "$(fetch -o - https://raw.githubusercontent.com/ohmyzsh/ohmyzsh/master/tools/install.sh)" |
连接被墙问题
方法一: 科学上网
只可意会不可言传🐕
方法二: 加速ssh登录
适用于阿里云服务器😶
修改 /etc/ssh/ssh_config
vim /etc/ssh/ssh_config |
取消以下行的注释
没有生效可以重启下sshd服务器
/etc/init.d/sshd restart |
方法三: 映射hosts
死马当活马医😂
进入 https://www.ipaddress.com/ 获取域名的映射IP

修改hosts文件
vim /etc/hosts |
添加对应的ip映射即可
185.199.108.133 raw.githubusercontent.com |
主题配置
主题文件位于
.oh-my-zsh/themes目录下,可自定义修改
简单实用的
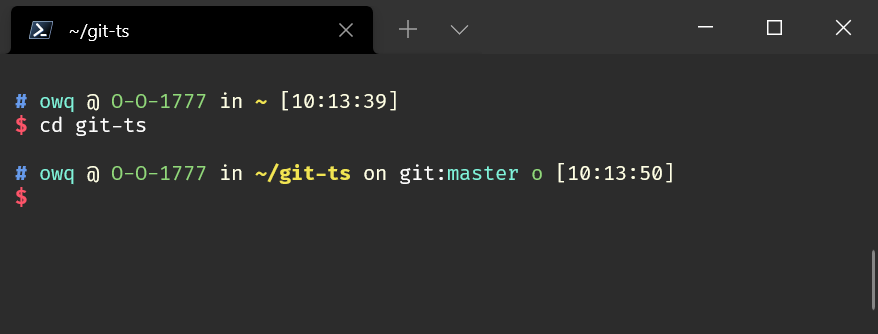
修改~/.zshrc 配置文件
ZSH_THEME="ys" |
powerlevel10
仓库传送门 -> 🚪
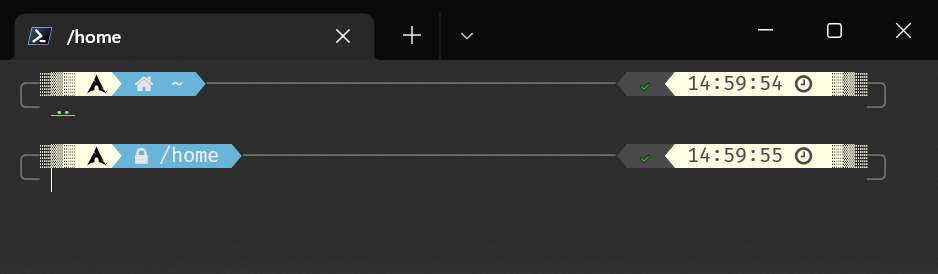
从储存库安装
克隆主题包到主题目录
git clone --depth=1 https://github.com/romkatv/powerlevel10k.git ${ZSH_CUSTOM:-$HOME/.oh-my-zsh/custom}/themes/powerlevel10k |
修改~/.zshrc 配置文件
ZSH_THEME="powerlevel10k/powerlevel10k" |
Arch 安装方法
直接从软件源安装
sudo pacman -S zsh-theme-powerlevel10k |
添加到配置里
echo 'source /usr/share/zsh-theme-powerlevel10k/powerlevel10k.zsh-theme' >> ~/.zshrc |
重新进入shell会开启配置向导, 没有则键入一下命令
p10k configure |
powerline
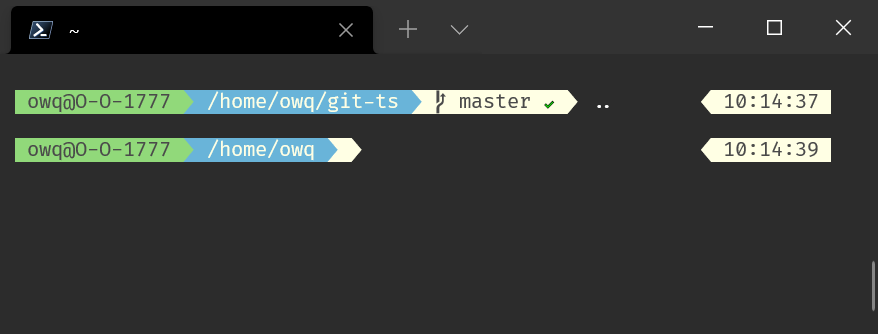
仓库传送门 -> 🚪
克隆主题文件到本地
git clone https://github.com/jeremyFreeAgent/oh-my-zsh-powerline-theme.git powerline |
运行安装脚本
cd powerline && ./install_in_omz.sh |
修改 ~/.zshrc 配置文件
ZSH_THEME="powerline" |
若终端符号显示不全或错位需要设置为
TureType字体如: FiraCode、powerline
安装powerline字体
sudo apt-get install fonts-powerline |
自定义配置
修改~/.zshrc配置文件
快速添加sudo
# EscEsc to sudo |
WSL2下的代理配置
# Proxy config |
常用别名设置
# git log |
配置其他用户可用
该方法虽然可以一次配置全局生效, 但会存在权限问题故不建议使用.
建议其它用户最好重新安装配置.
为root用户建立软连接,即root用户使用当前用户的配置
sudo ln -s $HOME/.oh-my-zsh /root/.oh-my-zsh |
切换root进入zsh,若提示无pyenv命令,则再建立软连接即可
sudo ln -s $HOME/.pyenv /root/.pyenv |
若提示目录权限警告,则在 .zshrc 文件前面添加
ZSH_DISABLE_COMPFIX=true |
若要单独配置,复制相应目录到对应用户主目录下即可
sudo cp -r $HOME/.oh-my-zsh /root |
安装插件
autojump
快速跳转目录
软件包安装
apt-get
apt-get install autojump |
pacman
pacman -S autojump |
从仓库安装
git clone https://github.com/wting/autojump.git |
# 跳转目录安装 |
使用方法
j <部分目录名> |
zsh-autosuggestions
历史命令灰色提示
git clone https://github.com/zsh-users/zsh-autosuggestions ${ZSH_CUSTOM:-~/.oh-my-zsh/custom}/plugins/zsh-autosuggestions |
zsh-syntax-highlighting
正确语法高亮提示
git clone https://github.com/zsh-users/zsh-syntax-highlighting.git ${ZSH_CUSTOM:-~/.oh-my-zsh/custom}/plugins/zsh-syntax-highlighting |
git-open
浏览器快速打开git项目
git clone https://github.com/paulirish/git-open.git ${ZSH_CUSTOM:-~/.oh-my-zsh/custom}/plugins/git-open |
直接在仓库目录下使用
git open |
配置插件
注意:插件中间是以空格分开
plugins=(git zsh-autosuggestions zsh-syntax-highlighting git-open) |
其它
打印一只宝可梦: pokemonsay
带图标字体: https://github.com/ryanoasis/nerd-fonts